Sunday, June 1, 2014
Vietnam - Timeless Charm
Vietnam's Ho Chi Minh City and Ha Long Bay in Apple's video. Wow, it's such a beautiful country !
[Asia Pacific] Vietnam expects Japan coastguard ships next year: Vice Defense Minister
Source: http://www.reuters.com/article/2014/06/01/us-asia-security-vietnam-idUSKBN0EC13R20140601
(Reuters) - Vietnam expects to take delivery of coastguard ships from Japan early next year, the country's vice defense minister said on Sunday, as Hanoi looks to boost its defenses amid a territorial row with China in the South China Sea.
Japanese Prime Minister Shinzo Abe said on Friday that Tokyo would provide Southeast Asian nations its "utmost support" in their territorial disputes over the South China Sea, in a speech that received a hostile response from China.
In the South China Sea, scores of Vietnamese and Chinese ships, including coastguard vessels, have continued to square off around a Chinese oil rig in contested waters.
Tensions heightened last week when Hanoi said a Chinese boat rammed and sank a Vietnamese fishing vessel not far from the oil rig. China's official Xinhua news agency reported the vessel capsized after "harassing and colliding with" a Chinese fishing boat.
Vietnam Vice Defence Minister Nguyen Chi Vinh told Reuters on Sunday Japan, itself locked in a bitter territorial spat with China, was helping it to train its coastguard and share information with its teams, as well as sending some vessels.
"The process is developing very well and we are planning to receive the ships by early next year," Vinh said in an interview on the sidelines of the Shangri-La Dialogue in Singapore, Asia's biggest security forum.
Abe had told parliament on Wednesday that Japan was unable to immediately provide decommissioned patrol ships to Vietnam as its own coastguard was stretched by surveillance activities. [ID:nL3N0OE2L9]
Patrol ships from China and Japan have been playing cat and mouse in waters near disputed East China Sea islets, raising fears of an accidental clash between the world's second- and third-largest economies.
VIETNAM URGES OTHERS TO SPEAK UP
Vinh said that while he welcomed the support of Japan and the United States he believed other nations could be more vocal about China's actions in the South China Sea.
"I have the feeling that every country, whether they publicly state it or not, realize the wrongdoing of China and do not agree with what they are doing," he said.
"I feel that other countries must raise their voice stronger, in a more public way."
Some Southeast Asian nations such as Malaysia have remained wary of speaking out against China for fear of damaging deep-rooted economic ties.
The United States and China squared off at the security forum in Singapore on Saturday, with the U.S. defense secretary accusing Beijing of destabilizing the region and a top Chinese general retorting that his comments were a "threat and intimidation".
Vinh said he met with Wang Guanzhong, deputy chief of the People's Liberation Army, who stuck to China's "previously stated perspective".
"I told their deputy chief of general staff that Vietnam never wants to have tension with China," he said.
"We do not want to fight to get a winner or loser with them, what we want is peace and territorial sovereignty and integrity."
[Review] T-44 The Powerful Soviet Medium
Source: WoT Wiki

History
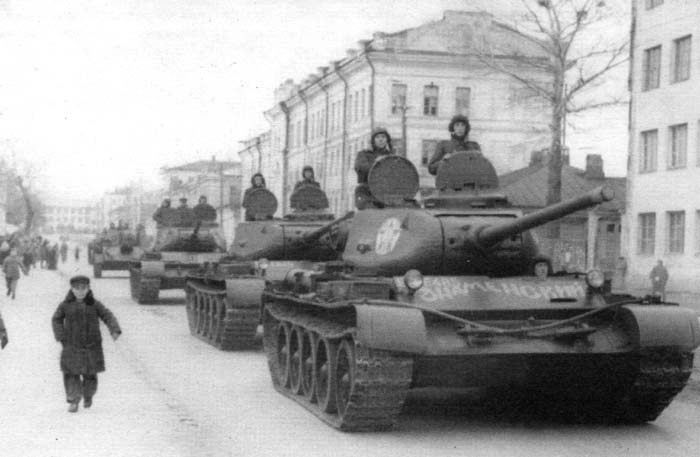
The T-44 Medium Tank wasn't in large-scale production like the T-26, or in widespread use like the T-34, nor was it the main battle tank for the post-war period like the T-54 and T-55, but it took a worthy place in the history of Soviet tank development.
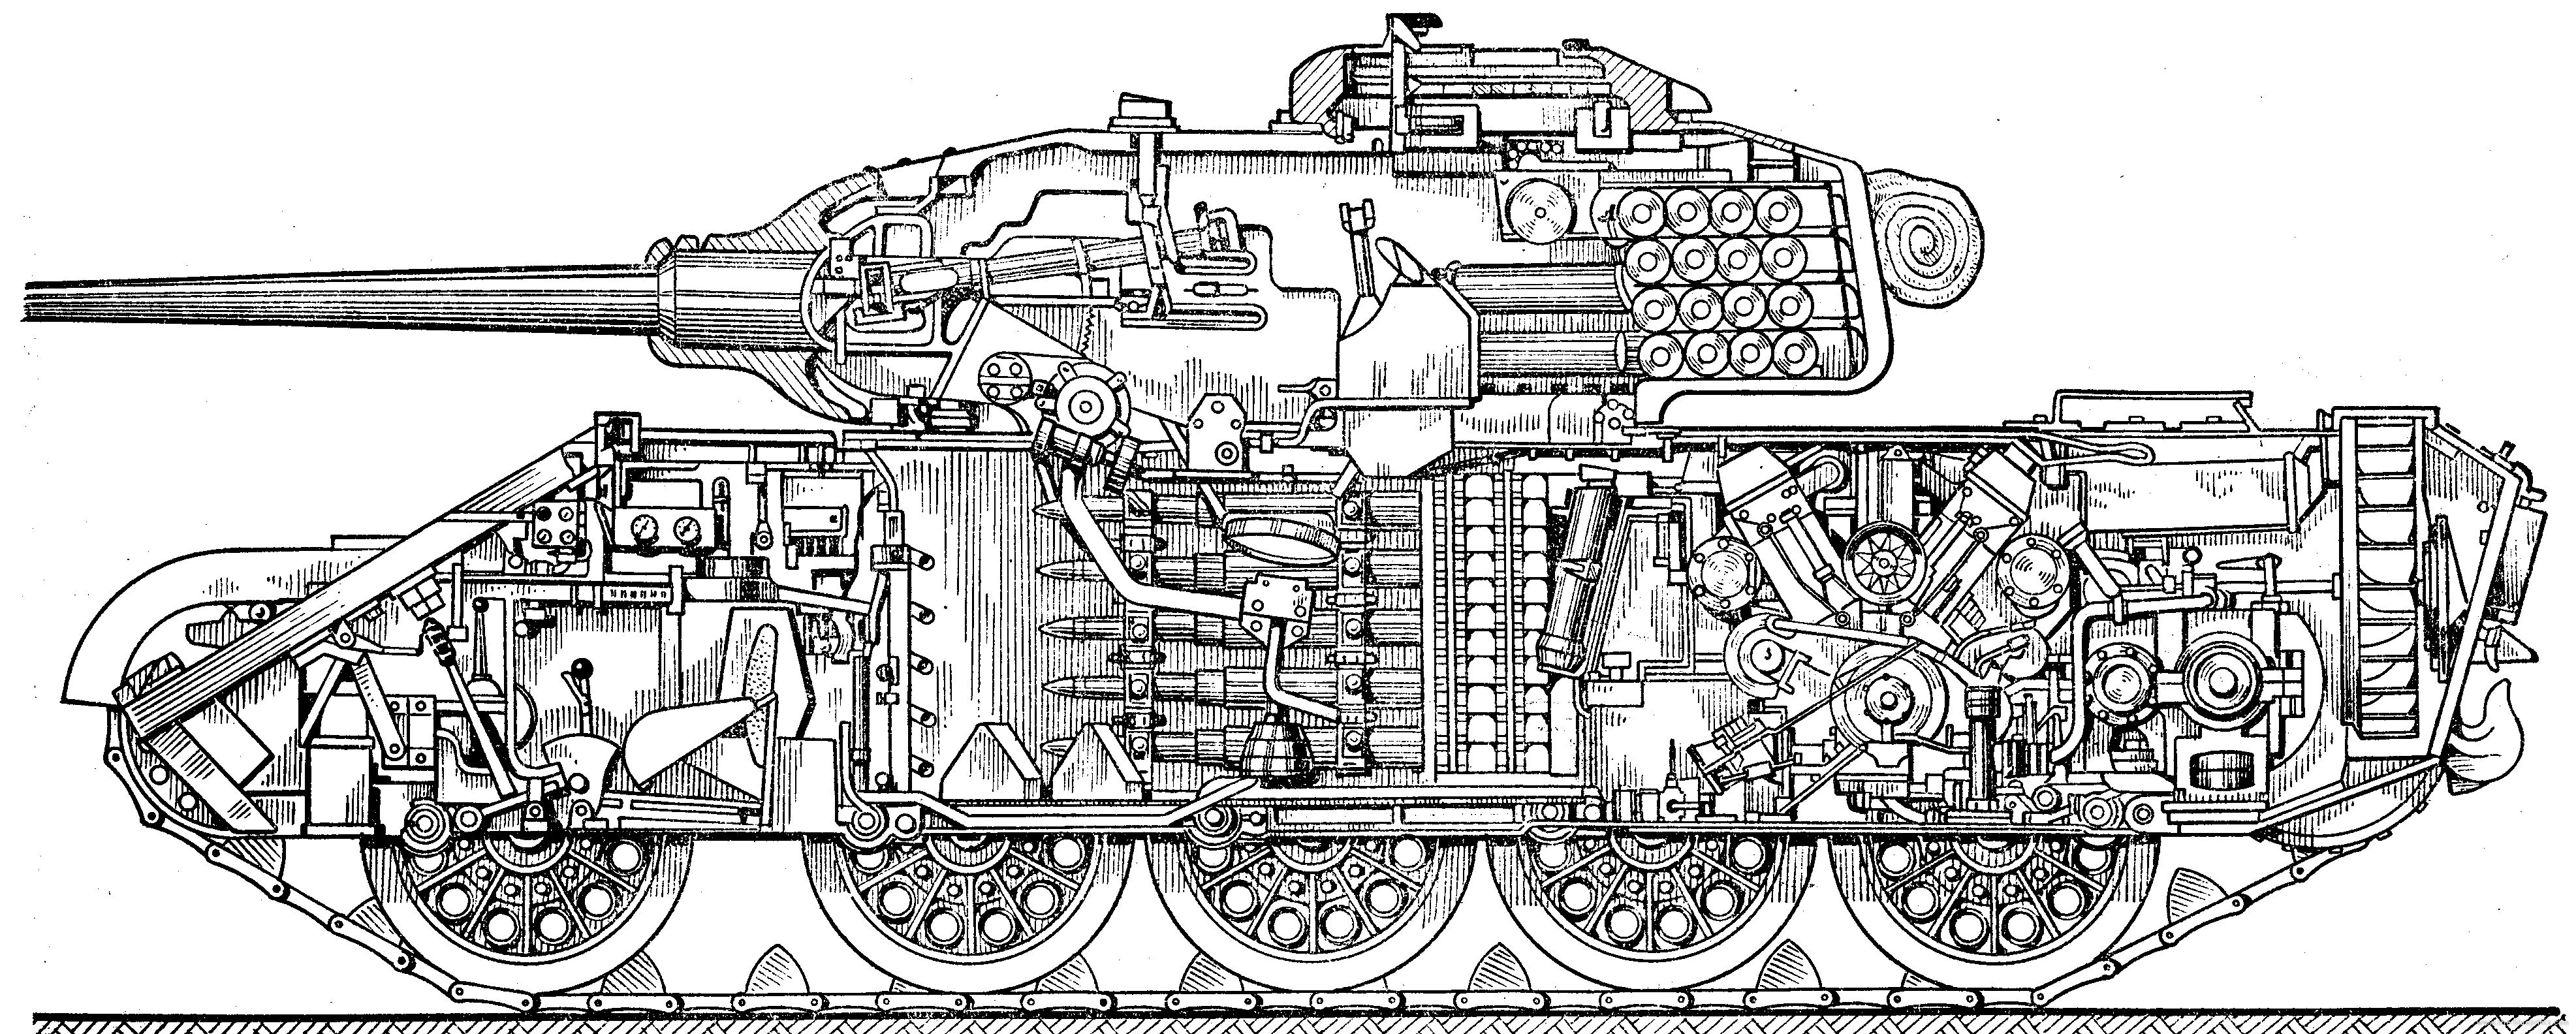
In the autumn of 1943, the design bureau of the Stalin Ural Tank Factory No. 183, located in Nizhny Tagil, started working on a vehicle that would have improvement opportunities in the future, under a direct order from Stalin. Main requirements for the project: retain the high mobility of the T-34 and provide it with heavier armor protection against modern tank guns. In November of 1943, the chief designer, A. A. Morozov, presented the overall design and a model of the tank which received the designation Object 136. The first prototype was completed by January 1944, and two more were completed in February. The first two prototypes received the designation T-44-85 (as they were armed with 85 mm D-5T guns). The third prototype was armed with the 122mm D-25-44T tank gun and received the designation T-44-122. The D-25-44T tank gun was an analog to the basic D-25 field gun, but there were differences in some minor details; fixed single-piece ammunition to increase the rate of fire, and a double-baffle muzzle brake. The construction of the hull with an innovative placement of the engine allowed fitting such powerful armament in a medium tank weighing 30 tons. The engine of the T-44 was placed perpendicular to the axis of the tank. Armor plating: 75 mm on the front of the hull and 90 mm on the front of the turret. The side armor was 45 mm thick and could be reinforced by additional 30 mm thick armor plates. All three prototypes were powered by the V-2IS diesel engine which developed 500 hp (373 kW).
The T-44 was a tank with a typical layout: the driving compartment at the front, the fighting compartment in the middle, and the engine compartment in the rear. The intention was to retain the high mobility and speed of a T-34 and to provide the T-44 with heavier armor protection against large-caliber tank guns as well. This goal was accomplished by adding thicker armor, but reducing the internal volume of the hull. The T-44 also had a lower profile than the T-34, and was potentially simpler to manufacture. Although the T-44 used many components of the T-34, it had a new hull, modified V-2 engine, suspension, and transmission.
Pros and Cons
Pros:
• Excellent mobility
• Fast
• Variety of guns to cater for different play styles
• Arguably the best tier 8 medium for wolf packing
• Small Profile
• Good Camo Rating
• Excellent mobility
• Fast
• Variety of guns to cater for different play styles
• Arguably the best tier 8 medium for wolf packing
• Small Profile
• Good Camo Rating
Cons:
•
Very vulnerable Ammo Rack
• Armour ineffective against its own tier
• Fairly low Penetration on both guns
• Low HP pool
• Armour ineffective against its own tier
• Fairly low Penetration on both guns
• Low HP pool
Play Style

To
summarize, the T-44 is a thinking mans medium. It's not the easiest tank to
play, mainly due to the mediocre penetration, poor gun depression and
unreliable armour against its own tier. However, it also has some notable
strengths, (such as the excellent mobility and camo rating) that when
exploited, turn this humble medium into a deadly, killer.
The T-44 is all about positioning, both in relation to the enemy and to your own team. It lacks the grit to tackle most enemies head on, and so should instead aim to get around to their flanks. Thanks to the tanks outstanding mobility, this is easy enough to do, proving you get the timing right. A great deal of situational awareness is required, because if you misjudge your run, and get caught out in the open, it won't take long for you to end up a smoldering wreck. This is why its always important to stick with team mates, preferably those that you are in communication with. Two of the most common battle scenarios completely rely on working closely with your team mates to overcome the enemy.
Often in games with large numbers of Heavies and TDs, "battle lines" will develop as a game draws on. As opposing heavy tanks hold their ground and slug away at each other, a slow paced game will often result and requires patience from the T-44 driver. If you try and form up with your heavies, the enemy will sense an easy kill and target you instantly. Instead wait until your line of heavies firmly hold the enemies attention, and then try to slip by unnoticed to the enemies flank. If you see the enemies focus on you, don't be afraid to retreat to safety and try again later. Once off to the side, either continue on to the enemies base and try and flush out artillery, or turn around and pummel the enemy lines from your now favorable position. Often enemies will be too worried about the "bigger" threats in front of them that they won't focus on the lone medium off to the side. And if you do start attracting a lot of attention, then it should create a great opportunity for your heavies to attack.
Games with greater numbers of lights and mediums tend to be more dynamic and so may at first appear favorable for a tank such as the T-44. Often however, this may not be the case as the greatest strength of the T-44: its agility, is negated by the agility of the other mediums. It may be the most agile of the tier 8 mediums, but that doesn't mean that it can circle Pershings and Type-59's as if they were lumbering heavies. And whilst the Pershing has its gun depression, and the Type-59 has its armour, the T-44 is a bit of a one trick pony. It's gun is nothing special, neither is its armour, and it sorely lacks gun depression. The way to overcome this, is to make it impossible for the enemy to counter your agility. How? By teaming up with other mediums and forming a wolfpack. Overcome the enemy by weight of numbers in the local area. Swarm them and they can't keep up with all of you. Have the pack hunt down isolated enemies and dispatch them as quickly as possible, and then move on to the next target. Sweep across the map overpowering enemies one at a time.
Of course, in random matches, its not always possible to coordinate with your team mates and so you may end up facing enemy tanks alone.
As a general rule, unless they are all light tanks, always retreat when out numbered. Only engage alone, when the enemy tank is also alone.
Crew Skills (Recommend)
Commander:
Sixth sense, Repairs, Eagle Eye
Gunner: Repairs, Snap Shot, Camo
Driver: Repairs, Off road Driving, Clutch Braking
Loader: Safe Stowage, Repairs, Camo
Gunner: Repairs, Snap Shot, Camo
Driver: Repairs, Off road Driving, Clutch Braking
Loader: Safe Stowage, Repairs, Camo
Equipment (Recommend)

Vertical
Stabilizer
Gun
Rammer
Wet Ammo Rack
Wet Ammo Rack
Straight Outta Supertest: The Pit
Source:
WoTLeaks VK community
For The Record
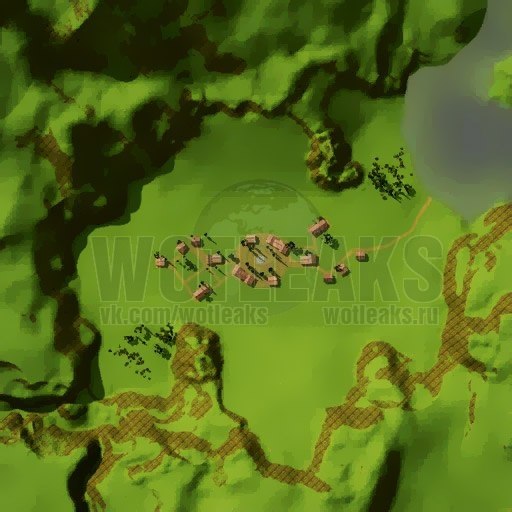
Apparently (although this info is NOT confirmed), Wargaming is working on a new (yet unnamed) map, code name “the pit” (or “the hole”).

This new map is very small (400 x 400 meters) and is allegedly being made especially for low tiers (1,2,3). The reason behind it allegedly is that Wargaming wants the new players to “feel the action” straight from the start, because the fighting starts very soon after the battle commences and the fighting distance is very short. The respawn points are allegedly at the south and north of the map, the bases are in upper right and lower left corner.
WoTLeaks VK community
For The Record
Apparently (although this info is NOT confirmed), Wargaming is working on a new (yet unnamed) map, code name “the pit” (or “the hole”).
This new map is very small (400 x 400 meters) and is allegedly being made especially for low tiers (1,2,3). The reason behind it allegedly is that Wargaming wants the new players to “feel the action” straight from the start, because the fighting starts very soon after the battle commences and the fighting distance is very short. The respawn points are allegedly at the south and north of the map, the bases are in upper right and lower left corner.
PROScout Tutorials: Passive Spotting
Source: http://forum.worldoftanks.com/index.php?/topic/359366-proscout-tutorials-passive-spotting/
As we have seen, Scouts assume
different primary and secondary roles as battles progress. This
tutorial sub-series will discuss the role most commonly associated to
Scout play: spotting.
Spotting is the act of exposing enemy
tanks; an act known in World of Tanks (WOT) as “lighting tanks up”.
There are 4 types of spotting; the 2 most common are called Passive and
Active spotting. The 3rd is Peek-a-View spotting and the 4th is Proxy spotting. The goal of all 4 types of spotting is the same: light up enemy tanks.
Before we look at the different types
of spotting further, let’s look at why Scouts spot. Understanding why
Scouts spot may help some of you non-Scouts or new Scouts overcome some
of the Myths of Scouting.
Scouts spot for 2 basic reasons:
1: Gain intel for the team.
2: Allow allied tanks to fire on the tanks which are lit up
Note the order I list those in. I
didn’t list them in order of importance to wins; rather, I listed them
in the order which they are frequently employed during battle.
Especially with Active Spotting early
in the battle, the Scout seeks to light up enemy tanks for intel
reasons. Based on what he discovers about the enemy team’s deployment,
his team can then adjust and adapt their own deployment. A Scout
seeking to gain such intel CAN NOT wait for friendly Arty or TDs to set
up before making the spotting run. It is normally imperative for the
Scout to get to a prime spotting location as fast as possible so he can
monitor the enemy deployment. Once Arty and other tanks are in position
and ready to fire, he can usually make additional runs with the goal of
lighting up tanks so allies can shoot them. Understand
the differences in his goals and don’t whine at him for spotting before
anyone was ready. His goal was not to set you up to shoot – it as to
get information his team could use.
No matter which goal he has, he uses
the same types of spotting techniques to achieve positive results:
Passive, Active, Peek-a-View or Proxy spotting.
PASSIVE SPOTTING
Passive Spotting is the style most
commonly used in the game today. Shot accuracy has been buffed to the
point Suicide runs are no longer successful often enough to make them
worthwhile. Most maps do not favor Half Court spotting. As a result,
the benefits of covert spotting using passive techniques are favored on
most maps by most Scouts.
Passive Spotting is a bit of a
misnomer as Covert Spotting is more accurate (I prefer to call it
“Ninja” Spotting). Passive means not actively taking a part in or not
reacting to an action. Covert means secret, hidden, unseen. As we
will see, Passive Spotting does require action on the Scout’s part, but
the Scout desires to remain unseen throughout. Despite Covert or Ninja
being the better term, Passive is so ingrained in the psyche of WOT
tankers, we stick with that term. But, whenever you hear the term
“Passive Spotting”, think “hidden”; it will keep your mind open to how
to most effectively Passive Spot.
There are two main types of Passive
Spotting: Bush and Open. Let’s look at each individually, then talk
about some general rules for Passive spotting
BUSH PASSIVE
In Bush Passive, the Scout uses bushes
or trees to hide his tank from the enemy while he keeps them lit up for
his team. The addition of environmental camo bonuses allows the Scout
to set up in what may become extremely close proximity to enemy tanks
and remain undetected.
Ideally, one’s entire tank is
concealed however that is rarely possible. Trees won’t provide 360
degrees of protection and most bushes won’t either. Thus, one should
set up in way which provides concealment from the angles most vulnerable
to discovery. Monitor what is transpiring on the map and adjust your
position as needed to remain concealed. Furthermore, in locations such
as Murovanka’s Magic forest, Passive spotting frequently involves bush
hopping; that is moving from 1 bush to the next, staying hidden while
slowly reconnoitering the entire area.
As I said, Passive spotting is NOT
really passive; even if one never fires one’s gun. Your goal is to
remain HIDDEN, not to remain still.
Notice also, I said "bushes or trees".
There are two ways to use trees. At times, the leaves of a tree
will already provide concealment for you, usually because you are on
terrain higher than the tree, but remember, you can also knock a tree
down to create concealment on the ground right in front of you. Or
maybe knock it down to the side of the bush you are in to provide
lateral concealment.
There is a potential downside to
knocking trees over for concealment. If you do it in a common Scout set
up spot, an alert enemy may notice the knocked down tree, understand
its implication, and blind fire into the tree or bush
PROS:
Much safer than Active spotting; the enemy can’t shoot what it can’t see.
Allows your team to damage and destroy enemy tanks with little chance of them receiving return fire.
Environmental concealment allows spotting of enemy tanks at fairly close ranges.
CONS:
Frequently takes your gun out of the game.
If no hard cover is quickly available, discovery often equals death.
If you guess wrong and no enemy shows up, you just wasted a few minutes of game time.
PRIME CONSIDERATIONS:
If they provide the same view, a bush
right next to a building or rock is better than a bush standing out in
the open by itself. The ability to quickly get behind cover if spotted
is life-saving.
Immediately after setting up in a
bush, rotate your camera around and see if you are well hidden,
especially from the direction you expect to see enemy tanks. Not being
truly hidden is one of the most common mistakes Scouts make.
Remember that an enemy tank exposes you the instant he is 49m away, no matter whether he has Line of Sight or not.
ROLE COMBOS:
Bush Passive can frequently be combined with Anti-Scouting and Sniping.
OPEN PASSIVE
Open Passive spotting does not use
environmental camo; rather it relies on distance and superior View Range
to provide concealment. It is especially effective against Heavys,
Arty and moving TDs.
Once again, Passive is not really
passive. Frequently one must move in order to maintain the separation
required to remain concealed. Remember, when speaking about Spotting,
“passive” really means “hidden”.
Because distance is required, this
technique is much more common on Open and Mixed maps, but if one remains
aware of opportunity it can still be pulled off successfully at times
on maps such as Himmelsdorf and Ensk. (I use it a lot at the start of
games in Ensk).
PROS:
Usable anywhere one has Line of Sight at the distance required.
Allows your team to damage and destroy enemy tanks with little chance of them receiving return fire.
Under the proper circumstances, usable on every map in the game.
CONS:
Scout is normally extremely vulnerable if exposed.
Only usable in specific situations
Requires intimate knowledge of View Ranges to maximize effectiveness
PRIME CONSIDERATIONS
If a spotted tank has Binoculars and stops, its View Range can increase dramatically.
Because you are exposed, you must
remain acutely aware of enemy tank locations on the map and adjust your
position or abandon spotting before you are exposed.
KNOW the distance between you and
spotted tanks. That means keep your reticle on them often enough to
always have a current range to target displayed. This is NOT the time
to guesstimate range.
ROLE COMBOS:
Open Passive can often be combined with Sniping.
GENERAL RULES FOR PASSIVE SPOTTING
During the countdown timer, tell your
team you will light up tanks, then click on the map to show them where.
This will alert them to where you will work; hopefully some will set up
to take advantage of your spots.
Ex: “Spots coming here:” Then click on 2-3 of the sectors where you will see the most tanks.
If possible, do not duplicate spots
with another Passive Scout. It is much better to go elsewhere and light
up a different area of the map than to park 2 bushes away from a
Passive team mate and spot the same places he is.
Positioning your tank to so it points towards your escape route saves you precious seconds if you are exposed.
Eventually, the spots at your location
will run out. Move on. It does your team no good if you sit in a
location which has no tanks left to spot.
When multiple targets are it up, encourage focus fire by requesting fire on a specific tank.
Spend your “down time” doing Quick
Counts, analyzing the positions of both teams on the battlefield,
updating in your mind what you will do if exposed, and what you will
when you stop Passive spotting.
Be aware of opportunities to Passive
spot as the game progresses; it isn't just a thing you do when the game
starts! Other tanks may get the glory, but it is almost always a
better idea to get hidden, spot and let a distant ally get the damage
and kill while you conserve hit points than it is to go Rambo and get
beat up needlessly. The Hit Points you waste may prove critical later
on.
In the next tutorial, we will look at Active spotting.
HAPPY HUNTING!
Saturday, May 31, 2014
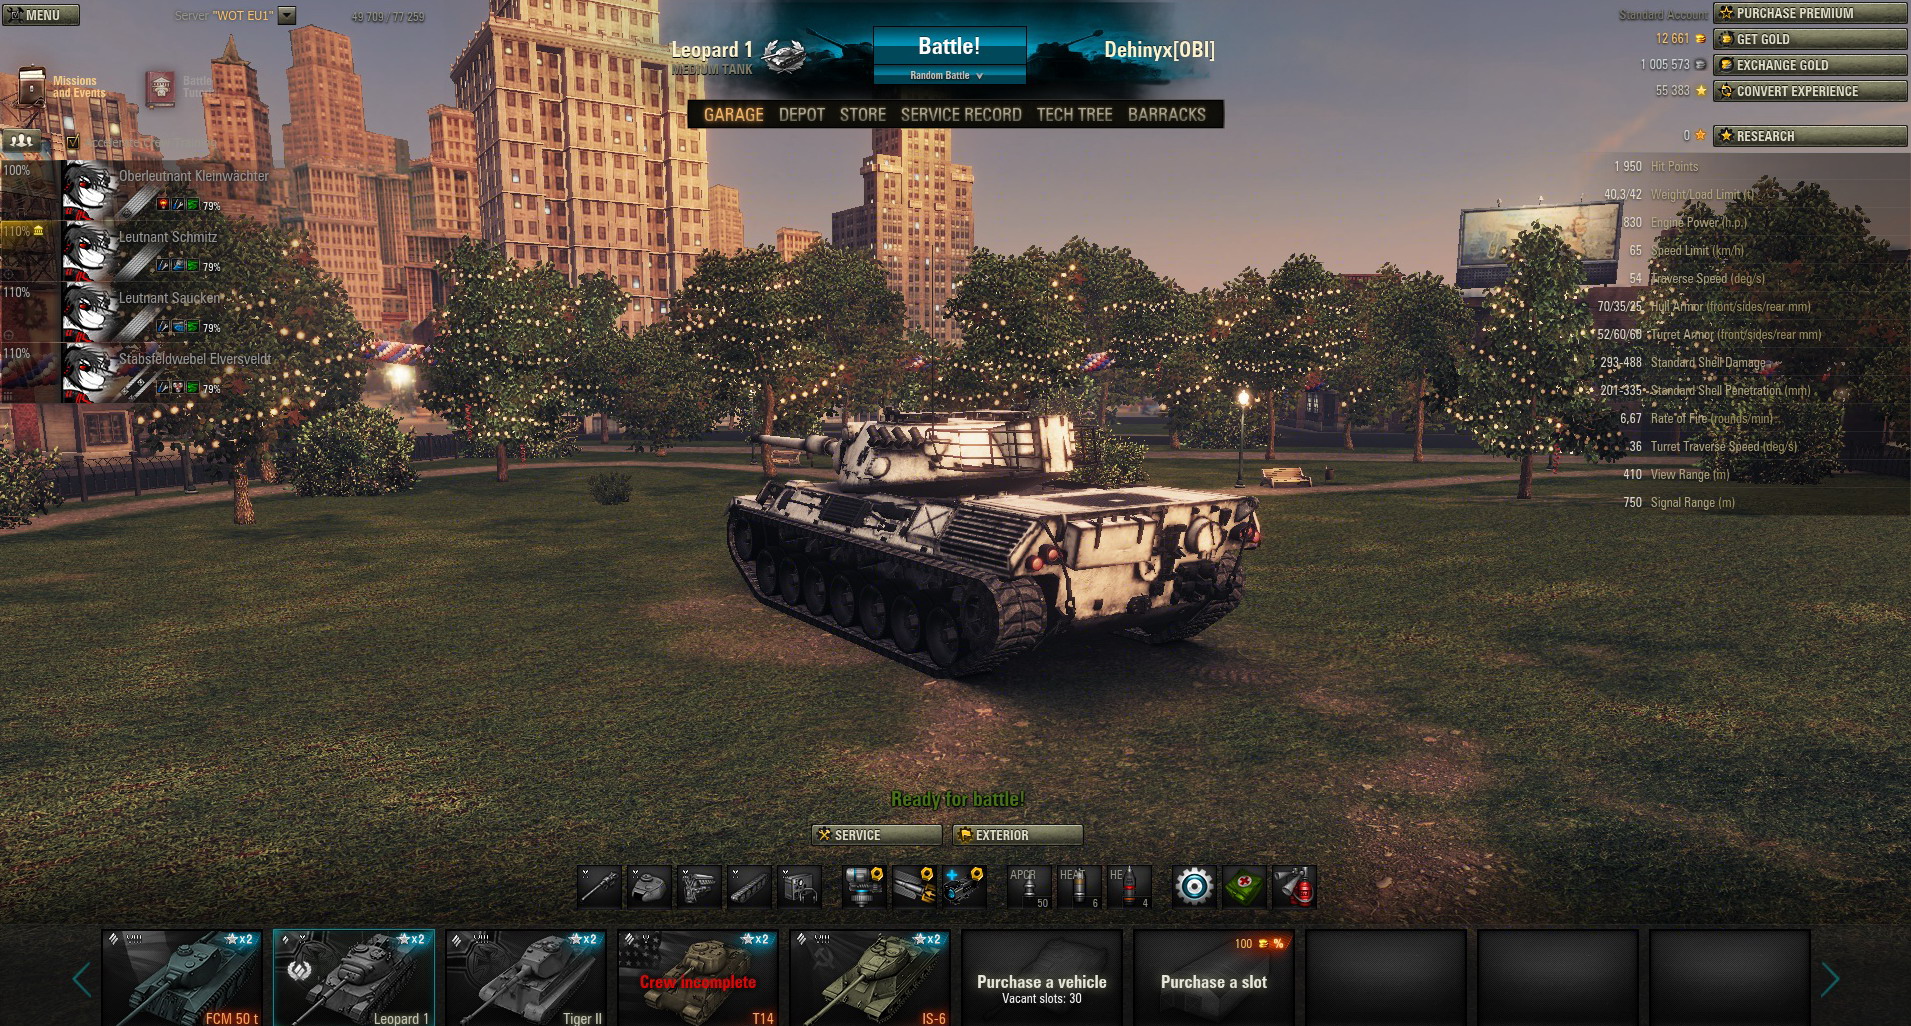
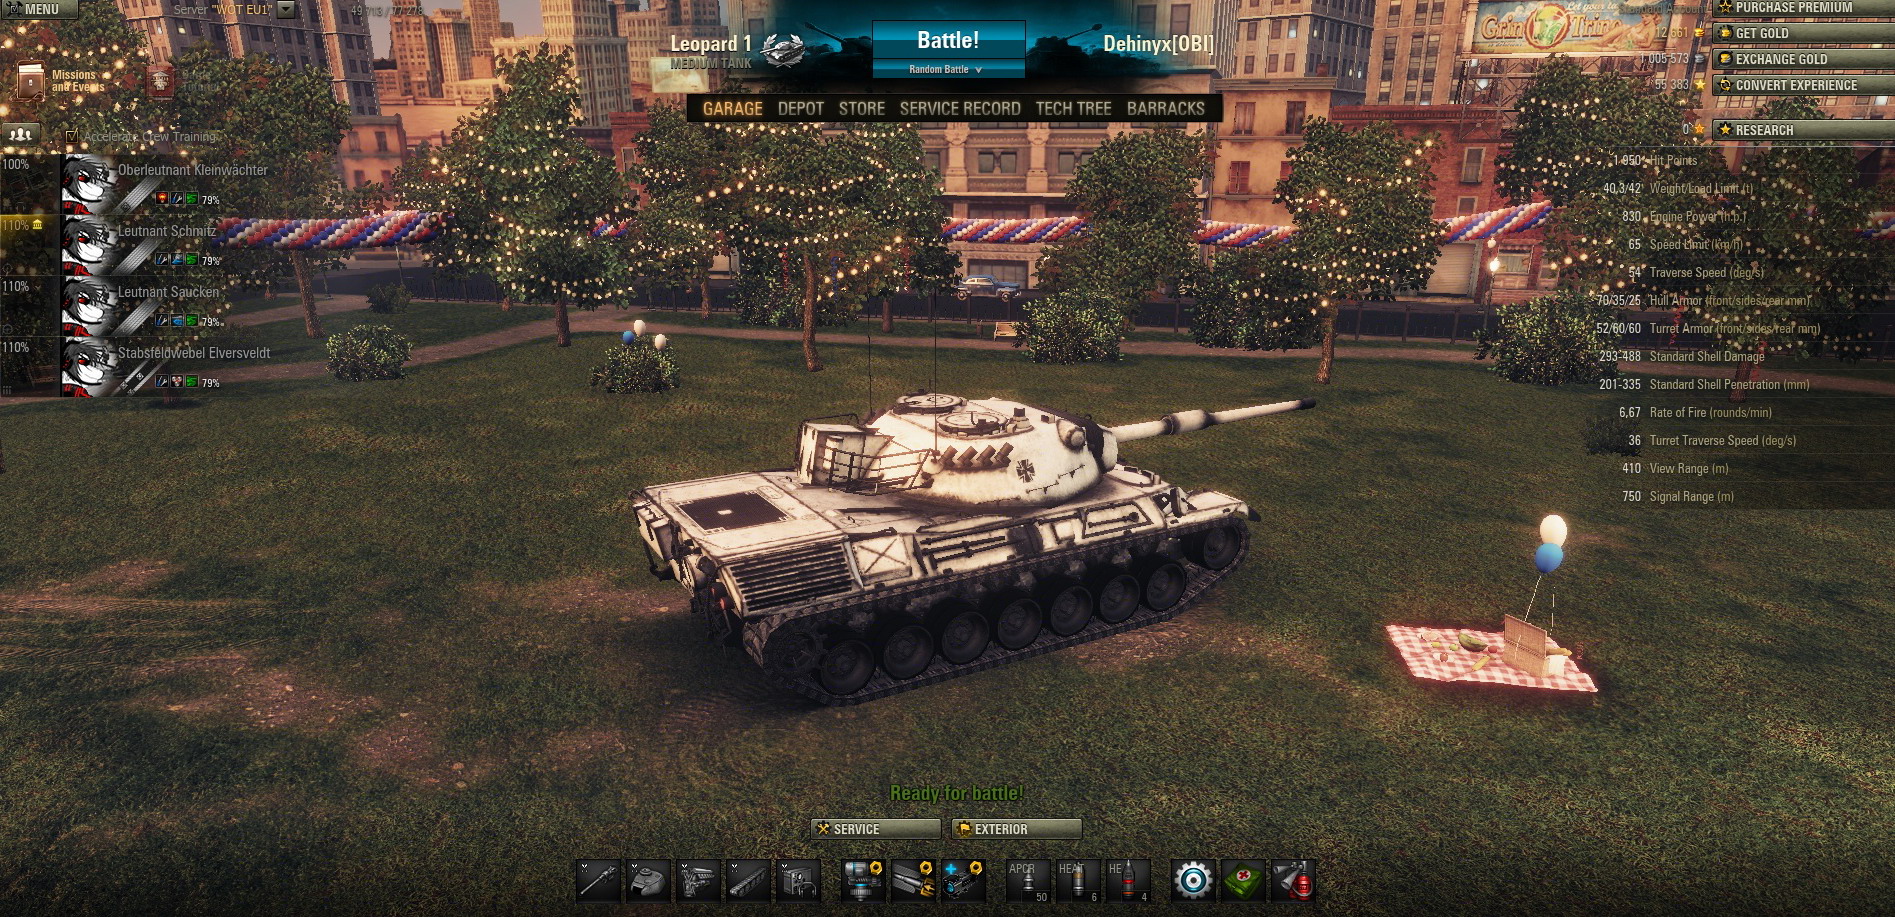
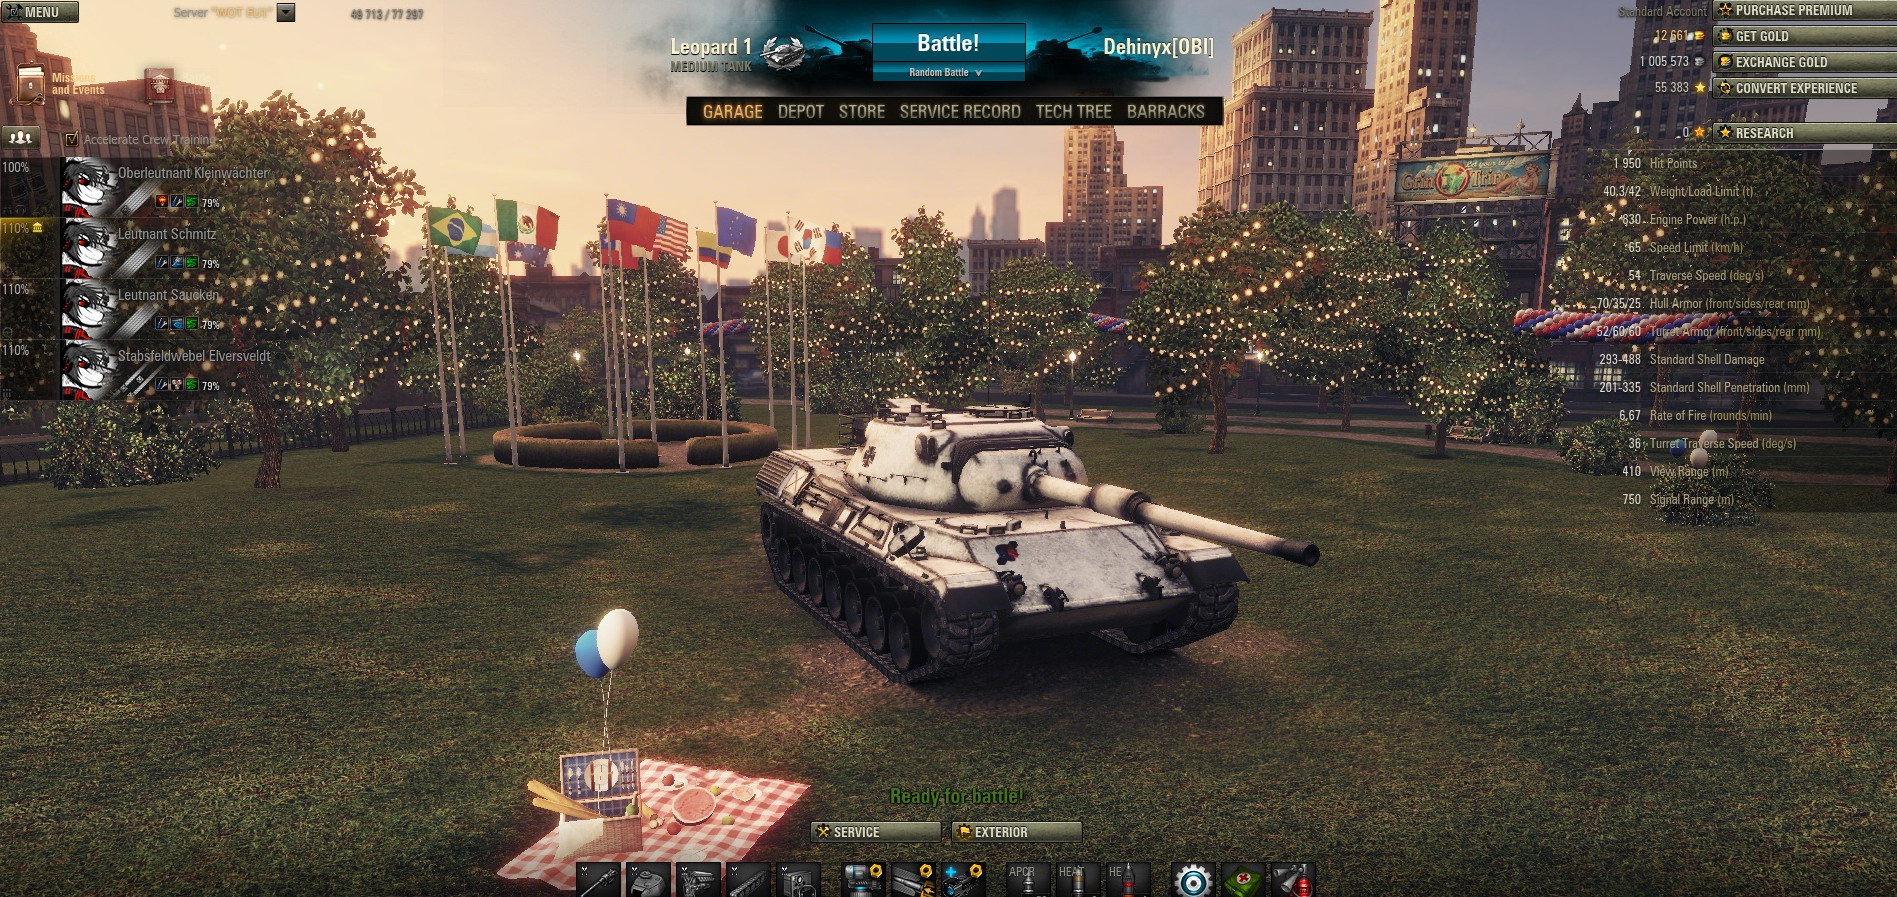
9.1 New Hangar (4th of July)
Source: For The Record
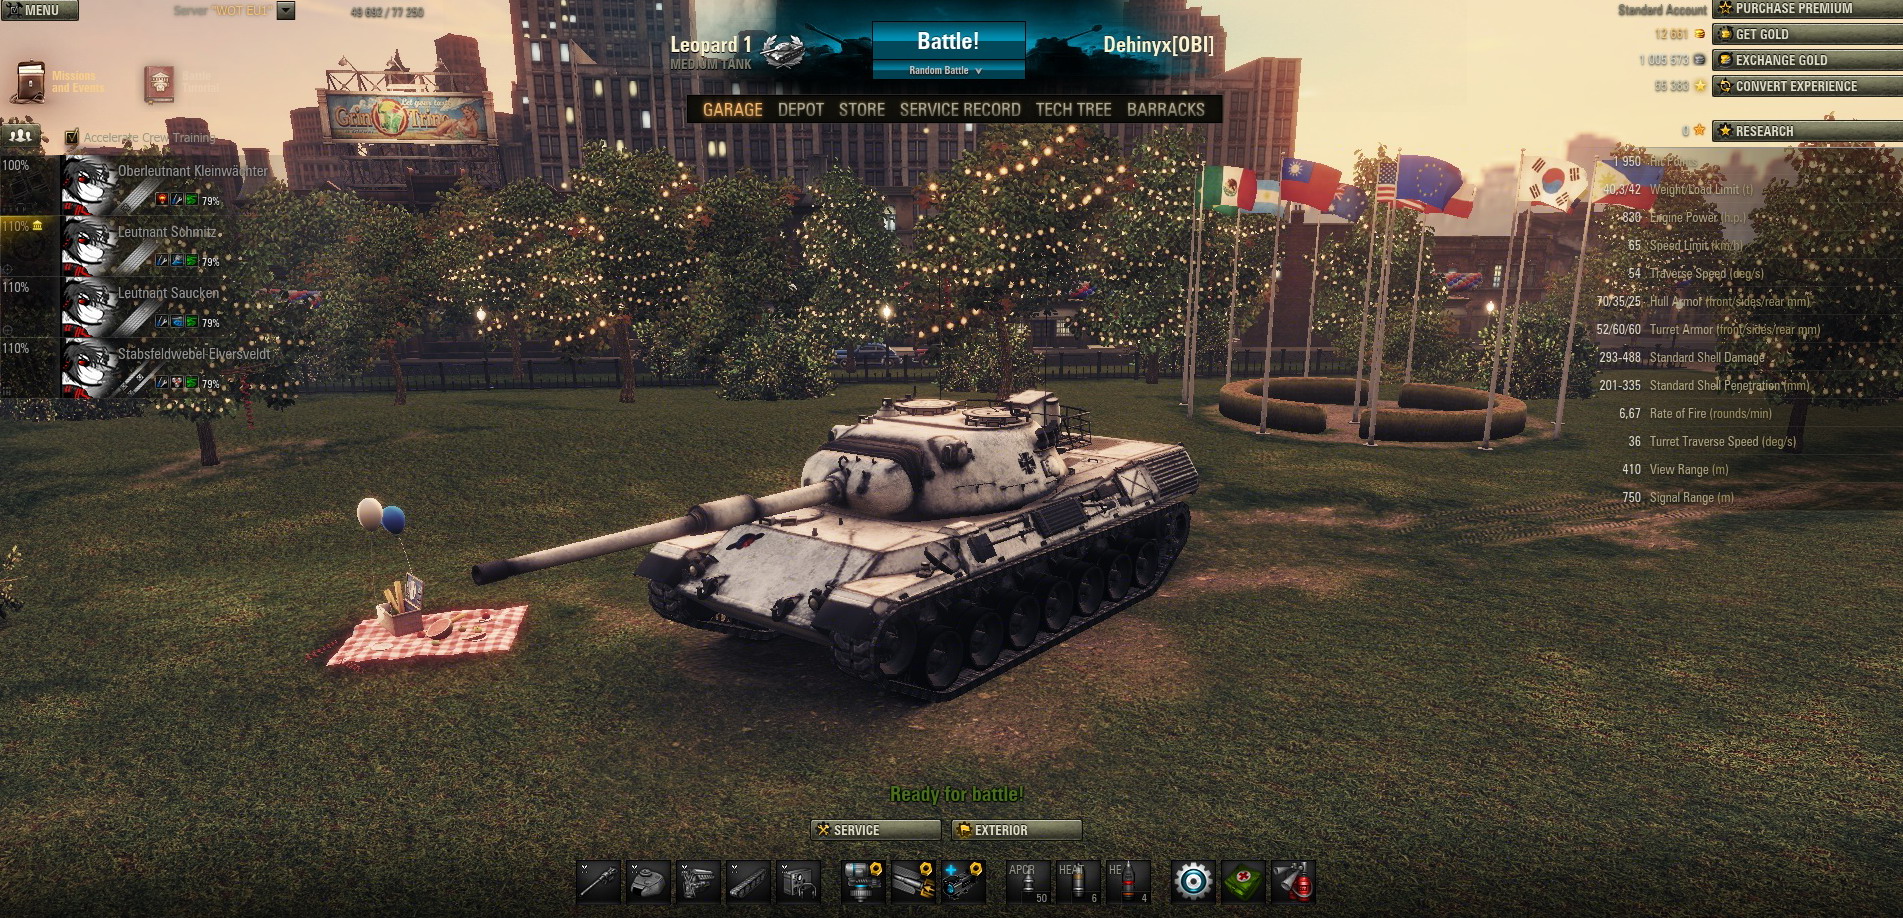
Looks like there is a new hangar in the 9.1 files, named “4th of July”.
Regular version download (replacing regular): http://www.ulozto.net/xunj3XPv/hangar-v2-pkg
Premium version download (replacing premium): http://www.ulozto.net/xEue4HVn/hangar-premium-v2-pkg


Looks like there is a new hangar in the 9.1 files, named “4th of July”.
Regular version download (replacing regular): http://www.ulozto.net/xunj3XPv/hangar-v2-pkg
Premium version download (replacing premium): http://www.ulozto.net/xEue4HVn/hangar-premium-v2-pkg
9.1 Test 2 Patchnotes
Source: For The Record
- returned the 9.0 shooting sounds
- Hellcat and Jackson engine sounds returned to the ones in 9.0
- returned the tank explosions from 9.0
- fixed several cases of the appearance of the “black screen” bug
- fixed the appearance of black and blue tracers in sniper and arty mode
- fixed the bug where the map took too long to load on low graphic settings
- fixed the quick FPS drop when switching to the sniper mode while having other than maximum landscape settings set
- fixed the bug that caused FPS drop when shooting with rapid fire automatic guns
- fixed some crashes and freezes of the game client
- fixed the bug where the sound effects and voice alert was missing in some cases of shell hits
- fixed the 9.1 test 1 bugged changes of SU-100 camo when shooting
- changed the settings of some of the German tanks in the Bryansk Front HB
- fixed the bug where, when you switched from artillery mode to arcade and then back again while holding the RMB, the size of the aim circle was incorrect
- fixed the bug where the resolution setting resetted every time you ran the game in fullscreen mode
- added the support of 5:4 screen ratio
- fixed some of the errors in switching between your tank and allied tanks when you die
- fixed small graphic model issues of some tanks
- fixed small mistakes on some maps
- fixed the destruction effects of some objects
Friday, May 30, 2014
Strongholds Game Mode: First Details
Source: http://worldoftanks.eu/en/news/46/strongholds-first-details/
Strongholds is a new game mode designed for clan members. It is available in the game client and has no connection to Clan Wars or any other activities on the Global Map. Strongholds represent clan property and consist of a virtual military base, zones surrounding it, and auxiliary buildings. Strongholds may be created by clan commanders for free.
Please keep in mind that Strongholds can only be created by clans with at least 20 members.
This new mode should not be thought of as a kind of browser strategy game. All features of this mode are free of charge, and the resources for it can be earned in tank battles.
In order to develop your Stronghold and achieve various bonuses (Orders) you will need to earn Industrial Resource by playing in the following battle types:
Skirmishes are 15 vs 15 battles, where teams are randomly matched up from all of those who are currently queued in the Skirmish mode. Companies may be created by any player to fight in Skirmishes. However, before joining these battles you’ll need to choose the type of Skirmish, which will define the maximum vehicle tier allowed in the battle. Currently there are three types of Skirmish:
The rules of these battles follow standard principles similar to the Tank Companies battle mode. The battle results determine the amount of Industrial Resource earned by each participant and team as a whole.
The Industrial Resource acquired can be spent on building and upgrading Structures. The Structures then issue Orders that activate temporary in-game bonuses for all clan members in all game modes, including Random Battles.
You can try this new mode during the special public test. Keep an eye on the news for the announcement!
Strongholds is a new game mode designed for clan members. It is available in the game client and has no connection to Clan Wars or any other activities on the Global Map. Strongholds represent clan property and consist of a virtual military base, zones surrounding it, and auxiliary buildings. Strongholds may be created by clan commanders for free.
Please keep in mind that Strongholds can only be created by clans with at least 20 members.
This new mode should not be thought of as a kind of browser strategy game. All features of this mode are free of charge, and the resources for it can be earned in tank battles.
In order to develop your Stronghold and achieve various bonuses (Orders) you will need to earn Industrial Resource by playing in the following battle types:
- Skirmishes.
- Attacks on enemy Strongholds.
- Defending your own Stronghold.
Skirmishes are 15 vs 15 battles, where teams are randomly matched up from all of those who are currently queued in the Skirmish mode. Companies may be created by any player to fight in Skirmishes. However, before joining these battles you’ll need to choose the type of Skirmish, which will define the maximum vehicle tier allowed in the battle. Currently there are three types of Skirmish:
- Medium (Tiers I-VI).
- Champion (Tiers I-VIII).
- Ultimate (Tiers I-X).
The rules of these battles follow standard principles similar to the Tank Companies battle mode. The battle results determine the amount of Industrial Resource earned by each participant and team as a whole.
The Industrial Resource acquired can be spent on building and upgrading Structures. The Structures then issue Orders that activate temporary in-game bonuses for all clan members in all game modes, including Random Battles.
Table of Orders available in the first test version of Strongholds
| Order | Bonus type | Maximum value* | Produced by |
|---|---|---|---|
| «Battle Payments» | Increased earnings for all battles (credits) |
Up to 50% | Financial Unit |
| «Tactical Training» | Increased earnings for all battles (XP) |
Up to 50% | Tankodrome |
| «Military Maneuvers» | Increased earnings for all battles (Free XP) |
Up to 50% | Military School |
| «Additional Briefing» | Increased earnings for all battles (Crew Experience) |
Up to 100% | Training Unit |
| «High-capacity transport» | Increased earnings for all Skirmishes (Industrial Resource) |
Up to 100% | Transportation Unit |
*These values may be altered depending on test results.
We plan to introduce new types of Orders in further updates.You can try this new mode during the special public test. Keep an eye on the news for the announcement!

[Strippers Series] The American T110E5
Source: http://wotguru.com/weak-spots-guide-t110e5/
The tier
10 American heavy tank T110E5 has a great frontal armor profile
but sacrifices armor on the sides and rear of the tank. Frontally many
will struggle at first since the “go to” commander’s cupola is actually
pretty damn strong and the lower glacis is an eggshell shape which makes
it strong in some places.
The index at the bottom of each picture describes a few abbreviations used and also the format in which the armor details are described in. Effective Armor (EA) refers to the overall effectiveness of the armor without normalization.


Frontally the T110E5 can be very difficult to deal with if you treat it like any other tank. The commander’s cupola is heavily armored and only the base and small machine gun sticking out of it can be penetrated regularly. If you hit it in the sloped sections your round will simply bounce off which makes this location difficult to hit reliably. Moving down the the turret you find yourself faced with a very strong mantlet and frontal turret armor. The main weak spots here are just around the gun and also to both sides of the mantlet if you have enough penetration.
The upper glacis should be avoided in almost any situation since it is thick and heavily angled. It is capable of bouncing most shells in the game unless you can negate the armor by shooting down into it from above. The lower glacis is an eggshell shape and below the “beak” area is very weak for most tanks facing the T110E5. Simple shoot at the armor that is facing you and you will be hitting the least angled part of the lower glacis. Towards the bottom of the lower glacis inside of the tracks are 44mm “flaps: in A1 which can be difficult to hit since they are very small but are there for use if you are stuck in a light tank. The ammo racks are located behind the “LFG #1 +20°” sections.

The side armor of the T110E5 drops considerably compared to the frontal armor. The turret still retains some protection especially in the front half of the side turret armor. The ammo rack in the turret is located in the rear portion of the turret on the right side(if you were driving the T110E5) while the radio shields the ammo rack in the back left section of the turret. Parts of the frontal armor do bend around to the side view of the T110E5 so avoid shooting towards the very front of the side.
The side hull armor is only 76mm thick below the turret and drops to 44mm towards the bottom of the tank. Simple avoid shooting to low so that you do not hit the track areas with no hull armor behind them and you will be fine with damaging the hull armor.

The rear of the T110E5 is straightforward as far as damaging it… Simply avoid shooting the sloped sections of the turret and commander’s cupola as they are the strongest sections of armor on the rear of the tank. The remaining hull armor and the flat section of the rear of the turret are very lightly armored.

I did not include a detailed angled view for the T110E5 since the weak spots stay the same from the frontal view in this guide. Simply stick to shooting the lower glacis sections that are closest to you(least angled) and also the turret weak spots if the lower glacis is not available. If the side armor ever falls below 70° then it is easy pickings and you can cut through the paper thin side armor of the T110E5. If a T110E5 ever “wiggles” back and forth simple aim at the lower glacis and do not move your aiming circle. If you keep it still you can simply wait a half second and shoot when the weakest point of the lower glacis is moving into your shot. If you try and follow where you want to hit on the lower glacis then you will only increase your chance of bouncing off.
The index at the bottom of each picture describes a few abbreviations used and also the format in which the armor details are described in. Effective Armor (EA) refers to the overall effectiveness of the armor without normalization.
The
armor values are presented in three different scenarios for the angled
view of the tank.15° frontal(75° side), 25° frontal(65° side), 35°
frontal(55° side), and 45° frontal(45° side).
Frontal


Frontally the T110E5 can be very difficult to deal with if you treat it like any other tank. The commander’s cupola is heavily armored and only the base and small machine gun sticking out of it can be penetrated regularly. If you hit it in the sloped sections your round will simply bounce off which makes this location difficult to hit reliably. Moving down the the turret you find yourself faced with a very strong mantlet and frontal turret armor. The main weak spots here are just around the gun and also to both sides of the mantlet if you have enough penetration.
The upper glacis should be avoided in almost any situation since it is thick and heavily angled. It is capable of bouncing most shells in the game unless you can negate the armor by shooting down into it from above. The lower glacis is an eggshell shape and below the “beak” area is very weak for most tanks facing the T110E5. Simple shoot at the armor that is facing you and you will be hitting the least angled part of the lower glacis. Towards the bottom of the lower glacis inside of the tracks are 44mm “flaps: in A1 which can be difficult to hit since they are very small but are there for use if you are stuck in a light tank. The ammo racks are located behind the “LFG #1 +20°” sections.
Side

The side armor of the T110E5 drops considerably compared to the frontal armor. The turret still retains some protection especially in the front half of the side turret armor. The ammo rack in the turret is located in the rear portion of the turret on the right side(if you were driving the T110E5) while the radio shields the ammo rack in the back left section of the turret. Parts of the frontal armor do bend around to the side view of the T110E5 so avoid shooting towards the very front of the side.
The side hull armor is only 76mm thick below the turret and drops to 44mm towards the bottom of the tank. Simple avoid shooting to low so that you do not hit the track areas with no hull armor behind them and you will be fine with damaging the hull armor.
Rear

The rear of the T110E5 is straightforward as far as damaging it… Simply avoid shooting the sloped sections of the turret and commander’s cupola as they are the strongest sections of armor on the rear of the tank. The remaining hull armor and the flat section of the rear of the turret are very lightly armored.
Angled

I did not include a detailed angled view for the T110E5 since the weak spots stay the same from the frontal view in this guide. Simply stick to shooting the lower glacis sections that are closest to you(least angled) and also the turret weak spots if the lower glacis is not available. If the side armor ever falls below 70° then it is easy pickings and you can cut through the paper thin side armor of the T110E5. If a T110E5 ever “wiggles” back and forth simple aim at the lower glacis and do not move your aiming circle. If you keep it still you can simply wait a half second and shoot when the weakest point of the lower glacis is moving into your shot. If you try and follow where you want to hit on the lower glacis then you will only increase your chance of bouncing off.
Subscribe to:
Posts (Atom)